
Popular: Milescraft TRIM45 Jig
Trim Cutting Layout Tool
TOP PICK: TRIM45 JIG
IN THIS GUIDE:
› TRIM LAYOUT JIG: BENCH DOG ANGLE JIG
› NAIL SET: SPRING TOOLS
› MITER SAW: DEWALT DWS715
› TRIM REMOVAL TOOL: GOLDBLATT PULLER
After installing thousands of feet of trim, I’ve found standard tools like a miter saw and specialty tools like a spring-loaded nail set are all needed to make the job easier (and faster).
And, if you’ve installed trim before, you know that trimming is putting the finishing touches on prior trades’ work. For example, if the sheetrock is higher than the door jamb, you’ll need to use an oscillating tool to adjust the sheetrock. Or, thick corners built up by drywall mud can cause extra time with a belt sander.
In this article, you’ll learn about trim installation tools that will:
- Simplify cutting crown molding
- Drive 18-gauge nails that can easily be hidden
- Locate studs for a firm trim connection
- Tricks with a jigsaw for coping trim
- Sanders that will help “adjust” your trim to the wall
- A hand-applied putty that you rub on and wipe off
Page Contents
Trim Installation Tools
Based on experience installing trim in my homes, and as a woodworker for 25 years, here’s my recommended trim installation tools:
1. Trim Jig for Doors and Windows

Shown: Bench Dog Trim Jig
Uses:
- Measuring and setting up angles for door jambs and cases
- Ensuring proper trim setback for evenly spaced jamb reveals
When it comes to accurately setting trim insets and marking angles, it’s a trick the pros have mastered. But if it’s your first time, you’ll want a layout jig to help with measurements and setup.
2. Trim Spring-loaded Nail Set

Shown: Spring Tools Hammerless Set
Uses:
- Quickly set nails that didn’t go all the way into the trim
- Avoid the trim dings and dents typical with a hammer and nail set
There is one guarantee with installing trim: you’ll have nails that won’t set into the trim.
And the standard approach of a hammer and nail set is acceptable, but it’s more prone to misses and dents in your trim.
This is why woodworkers use this handy nailset for trim jobs. Set it in place, pull back, and release. Repeat a few times, and even 1/2-inch “proud” nails quickly disappear.
3. Cordless Trim nailer to secure trim to the wall

Woodworkers are quickly moving to a cordless trim nailer, which makes installing trim easier. From its lightweight design to its no-dent tip, these portable devices are easier to use than their air-powered predecessors.
- Uses: Nailing trim and crown
- Size: 18 gauge
- Key features: Narrow head for maximum visibility, non-mar tip
The trim nailer will be the centerpiece of your trim installation tools.
Start with a lousy nail gun, and you’ll have difficulty installing the trim.
Key features to look for:
- I prefer an 18-gauge nail gun as the holes it leaves are more minor. However, on largerwider base trim, I’ll sometimes revert to a larger diameter 16-gauge nail gun.
- Cordless is just easier and quieter than air powered
- Look for a non-mar tip
4. Crown molding trim installation jig

Shown: Kreg Crown Molding Jig
Compound angles like crown molding can be an expensive job for a DIY'er. But a jig like this Kreg Tools crown guide will eliminate the double angle (and pay for itself)
- Uses: Eliminates the double angle cutting
- Size: One size
- Key features: Eliminates one angle of the crown cut to simply cuts and reduce waste
One of the trickiest jobs in trim installation is cutting inside and outside angles in crown molding.
And while there are a few tools out there for this – Kreg is a trusted brand name by countless woodworkers.
Other considerations:
- Coping: some professionals prefer a cope machine to butt the crown into the adjacent piece vs. cutting angles (interior angles)
- Angle finders are usually needed in homes to find if you’re dealing with a 90-degree or 92-degree corner
5. Miter saw for cutting trim to length

While this list is starting with larger tools, you can't install trim without a nail gun and a good quality miter saw
- Uses: Cutting trim to length
- Size: 10" blade is fine for most projects
- Key features: If you have crown molding, a bevel head; I prefer a sliding saw for maximum cut depth
Professionals know a miter saw is a must-have trim installation tool.
But what features and miter saw types should you think about? Well, these three general types work best for installing trim:
- An entry-level, non-sliding, and basic saw can go for $150 and will do the job for most installations without crown molding.
- However, if you have crown molding or a larger base, you’ll want to invest in a sliding, compound saw like the Dewalt mentioned above.
- Lastly, if you’ve bought into the Dewalt tool ecosystem, a cordless Flexvolt Dewalt Miter Saw is a great place to look.
6. Stud finder to locate studs and nail trim to
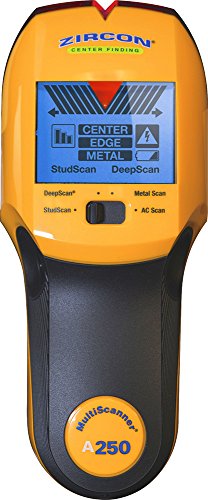
Shown: Zircon Stud Finder
Uses:
- Locating studs to nail trim to the wall.
7. Portable Air Compressor to power nailers
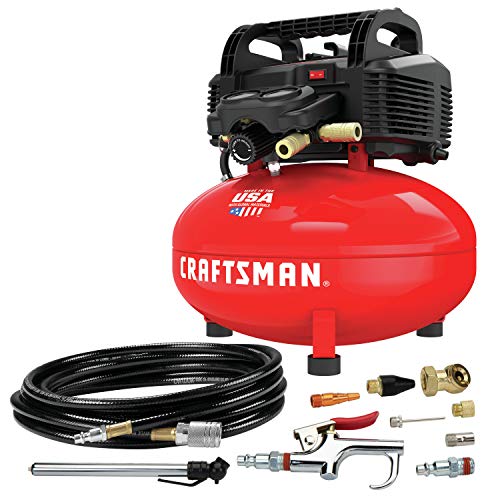
Shown: Craftsman Air Compressor
Uses:
- Powering air nailers to install trim.
When you look at an air compressor, two things matter. First, the less noise, the better, as it’ll be running in a confined space (under 85 decibels a must). Second, the cubic feet per minute and holding tank will dictate how many tools you can run continuously.
Tip: the air hose shipped with most units is a throwaway as they are short, coiled messes that only work for a small space. Because of that, you’ll want a high-quality 25′ non-marring air hose. With this hose, you’ll prevent marks on walls and trim alike.
8. Portable Shop Vac to cleanup trim tool dust
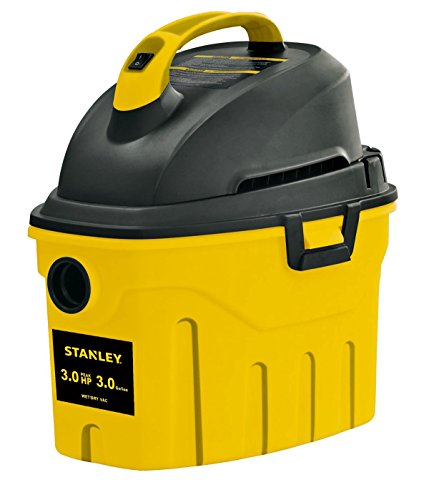
Shown: Dewalt Portable Shop Vacuum
Uses:
- Clean up dust on the floor and around the miter saw after the job.
Trim installation tools generate a lot of dust from the saws, wood chips from drilling holes, and sheetrock dust from any minor wall modifications. Therefore, you’ll need a vacuum to clean up the mess and reach all the hard-to-reach places. Why not sweep? It raises dust in the air and creates a more significant issue.
9. Miter saw dust hood to prevent dust in the house
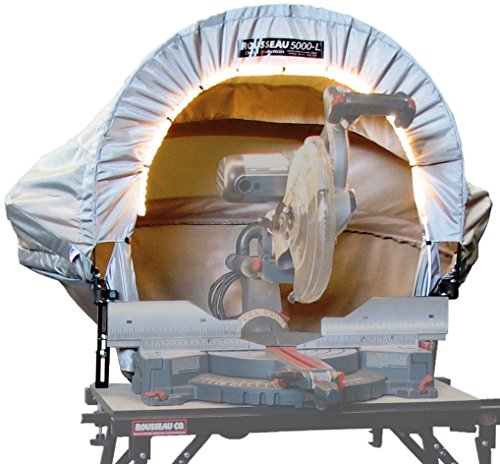
Many homeowners refuse to use a miter saw in the house when trimming.
Why? Well, that answer is easy: dust.
Miter saws generate a lot of it, but having it outside is an incredible inconvenience.
This lighted Rousseau dust hood will work wonders for catching dust and providing a lighted work area for safety and accuracy. Will you use it after the trim installation is done? Well, consider it a great addition to your garage to avoid dust.
10. Jigsaw for coping trim during installation

Shown: Dewalt Cordless Jig Saw
Uses:
- Use with coping jigs and trim reliefs
A jigsaw is handy for cutting corner trim and using coping tool jigs.
When you are looking at a jigsaw, three features should be top of mind:
- First, you want an adjustable “stroke” to adjust the bite the blade takes with each trip up/down. For trim, this is crucial to avoid chipping the face of the trim.
- Second, a smooth bottom is a must. While I usually put a few layers of painter’s tape on the bottom of the saw to ensure I’m not scratching any surface, having a high-quality bottom plate helps. High-end saws with aluminum bases are a great place to look.
- Finally, look for a variable speed to adjust the rate up or down depending on the wood you are cutting.
11. Oscillating multi-tool to cut off trim ends during installation

Shown: Dewalt Oscillating Tool
Uses:
- Trimming shims, removing drywall from tight corners
- Sanding in tight corners
This might only be used on some installations. But when you need it and have it handy, it can be a time-saver for tackling odd cutoff jobs like wood shims in tight corners, cutting back drywall, or even trimming off stray nails or screw heads. Moreover, this tool is excellent for window and door installation and trimming shims and drywall.
12. Portable table saw

Shown: Dewalt Table Saw
Uses:
- Cutting trim and custom wood strips to width.
While 95% of trim installation is straightforward, there are custom trim tasks that benefit from a portable table saw. First, cutting stairway trim in older homes can involve customizing the skirting board. Second, you may install the actual stair tread, and a table saw is necessary for accurately cutting the treads and risers.
For more information, reference our guides for portable corded saws and cordless saws from Milwaukee and Dewalt to see what works best for you.
13. Belt sander

Shown: Skil Belt Sander
Uses:
- Shaving trim edges in corners, removing material from the back of the trim board.
Summary
While installing trim can be a simple job, the best trim installation tools can be faster, safer, and produce a higher quality finished project. Be sure to invest in tools as much as the trim to avoid waste, improve the finished product and enjoy the process.
- About the Author
- Latest Posts

Eric has been a professional woodworker for over thirty years and has worked in small cabinet shops making everything from kitchen cabinets to hand-made furniture. Now working from a home woodworking shop Eric is sharing his passion for woodworking, tool advice and how-to knowledge from his Minnesota-based woodshop.


