Woodworking is a hobby that takes years (or decades) to master because of the tools, techniques, and wide variety of project types.
Every woodworker, then, is learning, making mistakes, and correcting themselves.
While there are hundreds of ways to do things wrong, some basic woodworking mistakes tend to be the same across many wood shops.
So rather than learn the hard way, in this article, discover what mistakes you might be making and how to correct them.
Number 10 might even surprise a professional.
Page Contents
Woodworking Mistake #1: Buying Cheap Tools
We’ve all wandered the aisles of big box stores and looked at sale prices with a longing for the best deal.
But the best deal isn’t the sticker price of the tool.
The RIGHT tools for your woodworking projects are the ones that have the features you’ll need for both today’s projects as well as what you’ll tackle in the future.
For example, if your projects will vary in size and material, consider a compound sliding miter saw that will let you make 12-inch cuts in plywood that a standard miter saw can’t make. Many woodworkers will start with a cheap saw only to find cut capacity wasn’t quite what they needed.
Or, rather than start with a benchtop table saw that has limited ability to cut larger plywood or hardwoods, go with a contractor saw that you won’t need to replace.
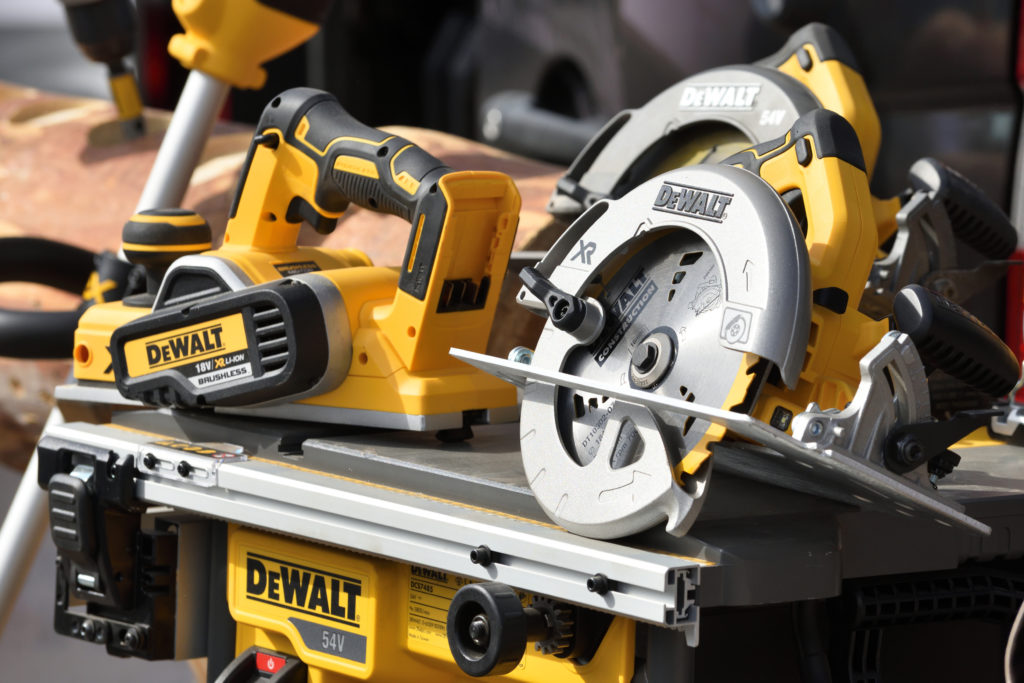
The bottom line on tools? As the adage goes, “Buy once, cry once.”
#2: Using The Wrong Wood Joinery
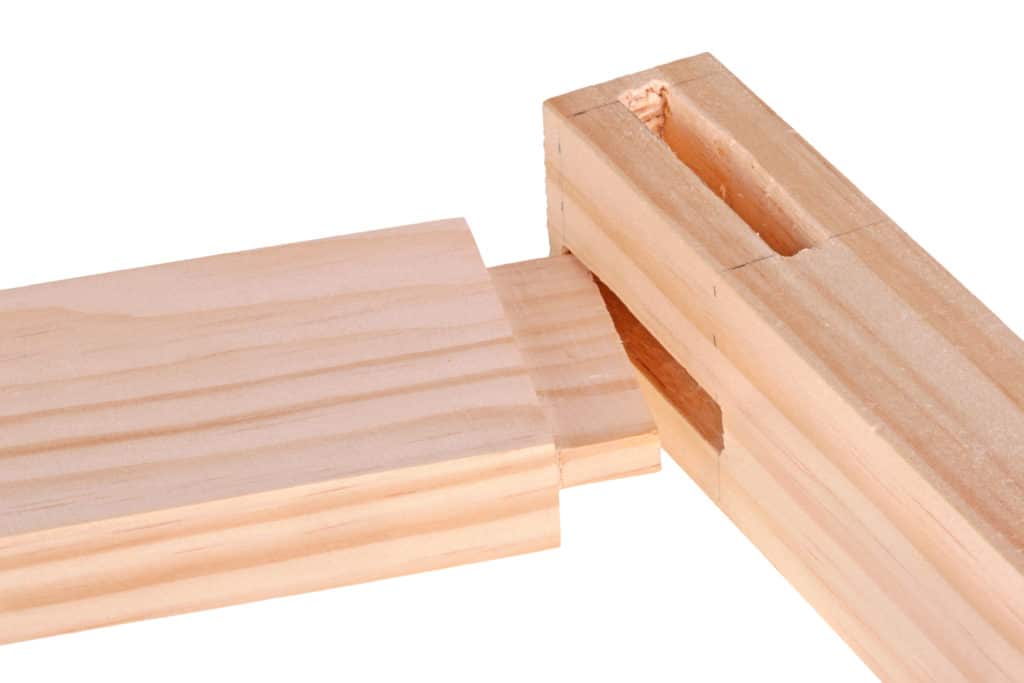
Woodworking seems simple until your first few projects force thought into how you’ll connect two pieces of wood.
And that means, unfortunately, not every wood joint is a target for a pocket hole screw that is the centerpiece of too many DIY’ers shops.
For example, when building a cabinet box, it’s best to use nails and glue when the finished material is visible. But for face frames, either a biscuit or pocket hole is fine as they won’t show.
Or, while everyone knows a dovetailed drawer is the strongest and most durable, most new woodworkers may not have the $400 in jigs and routers to make them. Often a half lap joint or pocket holes (hidden heads, please) will do for standard duty drawers.
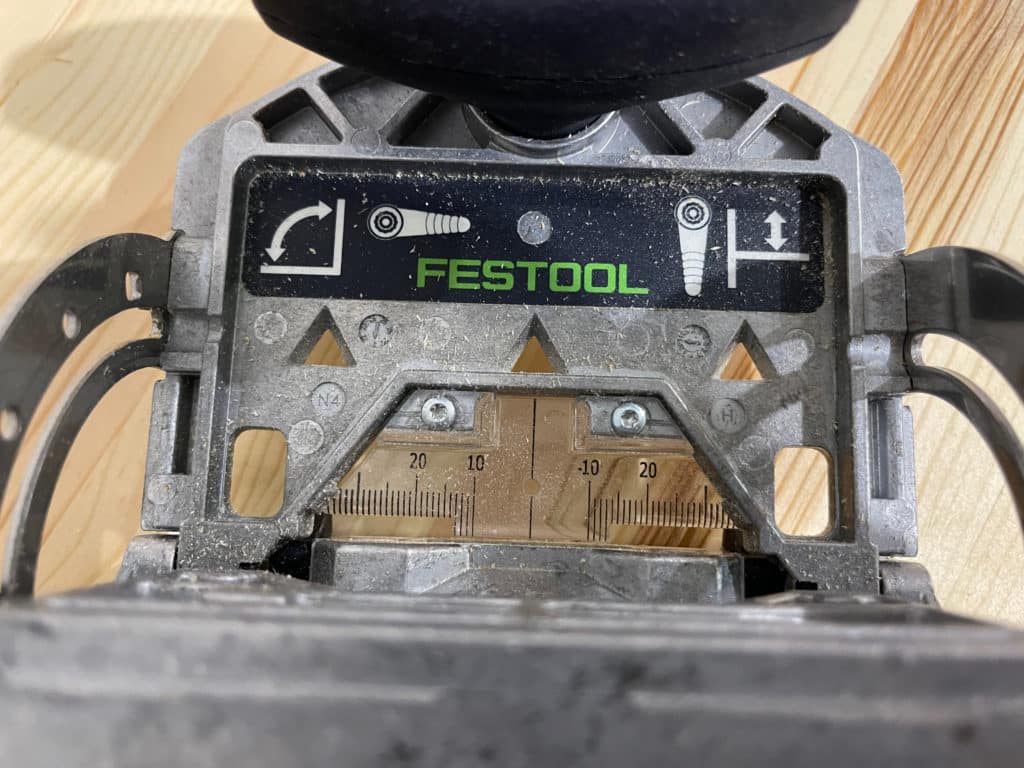
If your projects overuse one woodworking joint, then branch out and try biscuits, mortise and tenons, dovetails, or even the highly desired Festool Domino.
Woodworking Mistake #3: Bypassing Safety Features
The first move many woodworkers make is to remove the riving knife and shield from their table saws.
But what many don’t know is there are over ten amputations a day from just table saws across the USA alone. As you can guess, those aren’t good odds if you stack up ten years of sawing.
Rather than risk your fingers, eyes, or other body parts, do this instead:
- Follow the manufacturer safety instructions of every tool
- Use safety glasses
- Leave protective blade guards in place
- Choose safety push sticks over fingers
- Hand tools like routers and circular saws must have blades and bits stopped before setting down
- Think long term and invest in lung health too with dust management solutions and respirators
And while there are few guides on what cuts aren’t safe, the general rule is if it doesn’t feel right, don’t do it.
#4: Using Wet Wood
From warped breadboards to cracked dining room tables, the picture evidence of wet wood damage posted in social woodworking groups is endless.
And it is all avoidable.
By simply using kiln-dried lumber for any interior project where gluing two pieces of wood together is required, you can avoid splits, cracks, and warps found with air-dried lumber.
The math behind properly dried wood is simple: adequately dried wood has reached a moisture content of 6%.
And while air-dried wood can reach this number, kiln-dried wood has the advantage of staying at a low moisture content. How? Because the process of kiln drying wood changes the cellular construction of the wood and prevents it from reacquiring moisture.
So while a social marketplace might offer up a few dollars in savings, most of that wood is air-dried. Instead, head to a hardwood dealer near you that has a certified stock of kiln-dried lumber.
Lastly, be sure to use a hardwood rack to store your lumber (and keep it off the floor).
Woodworking Mistake #5: Not Managing Dust
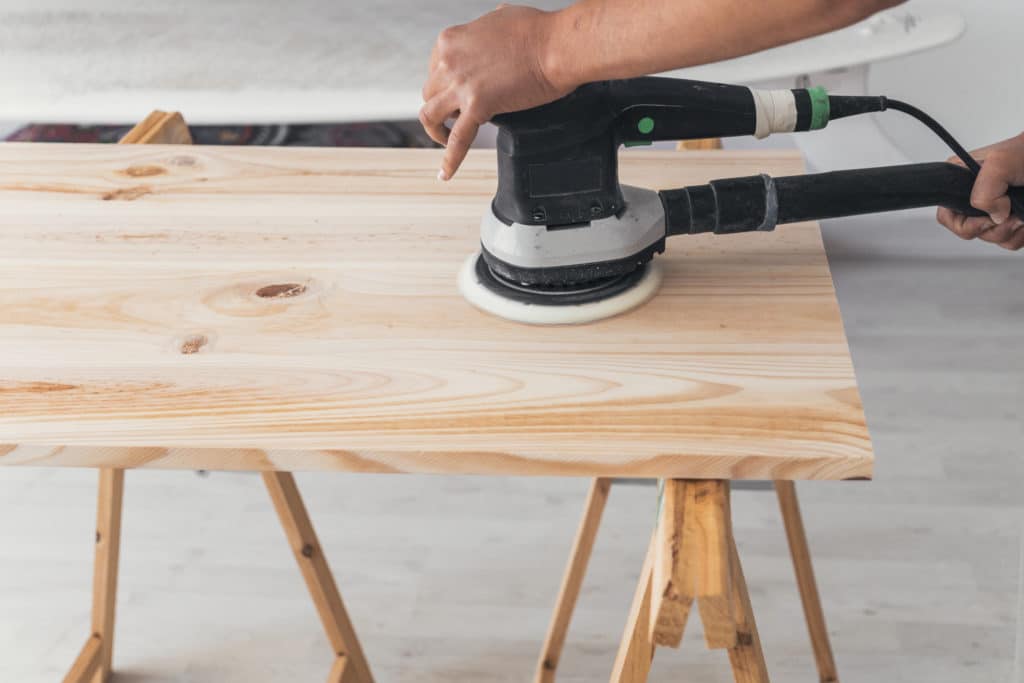
This one seems simple but is often an afterthought to many woodworking hobbyists and even professionals: manage the dust in your shop.
Fortunately, there are three quick fixes for this:
- Use a dust collector for your table saws, router tables, and jointers. These machines will collect a high volume of dust.
- Second, dust extractors connect to miter saws, random orbit sanders, and other small tools to pull finer-grained dust into a filter and keep it out of the air.
- Lastly, and not commonly used, a power dust filter system will cycle air and capture small micron dust that hangs in the air for an hour after your saws and sanders stop.
While most woodworkers don’t mind a little dust, sweeping the woodshop floor takes time and is a health hazard.
#6: Improper Panel Preparation and Glue-ups
At the heart of almost every woodworking project is a glued panel of some shape or size.
And that means choosing dried wood, ripping it to a proper width (an old rule is no more than 3-1/2 inches wide), and perfectly straightening the edges.
So what can go wrong? Well, many woodworkers will make one or more of the following mistakes:
- Starting with wood that is twisted and won’t make a flat panel
- Not using a jointer to straighten the edges of the wood
- Using wood wider than 4-inches
- Picking clamps with insufficient power (pros use bar clamps as they are cheap)
- Over-clamping the wood panel and squeezing all the glue out to create a dry joint
- Lastly, not allowing at least 24 hours for the panel to dry before sanding or planing
While many more things can go wrong, these are all common mistakes that are easy to avoid.
Woodworking Mistake #7: Draw First, Measure Second, and Cut Third
While many woodworking projects are small and straightforward, any project that takes more than a few hours to build needs a plan.
Which requires taking the time to:
- Draw your final project and dimensions
- Plan wood joints
- Determine where you can use lower grade plywood
- Identify a cut sheet of material required
- Count hinges and drawer slides (if needed)
Because larger projects can be time-consuming to plan, most woodworkers will draw out key components once and then translate that design too, for example, other kitchen cabinets.
Finally, design software like SketchUp is popular with woodworkers as it gives an open platform to draw just about anything.
#8: Dull or Dirty Cutting Edges
You’ve heard the saying dull knives cut more people than sharp knives.
While the same saying may not apply to woodworking, having dull blades and bits can cause a lot of grief:
- Saw blades with pitch buildup can heat up and burn
- Worn router bits are more prone to chipping wood than cleanly removing it
- Carbide saw blades that have lost their edge eventually burn the wood and cause extra sanding work
The solution? Invest in a quality diamond sharpening system for bits and send your blades out for sharpening regularly.
woodworking Mistake #9: Rushing Into Finishing
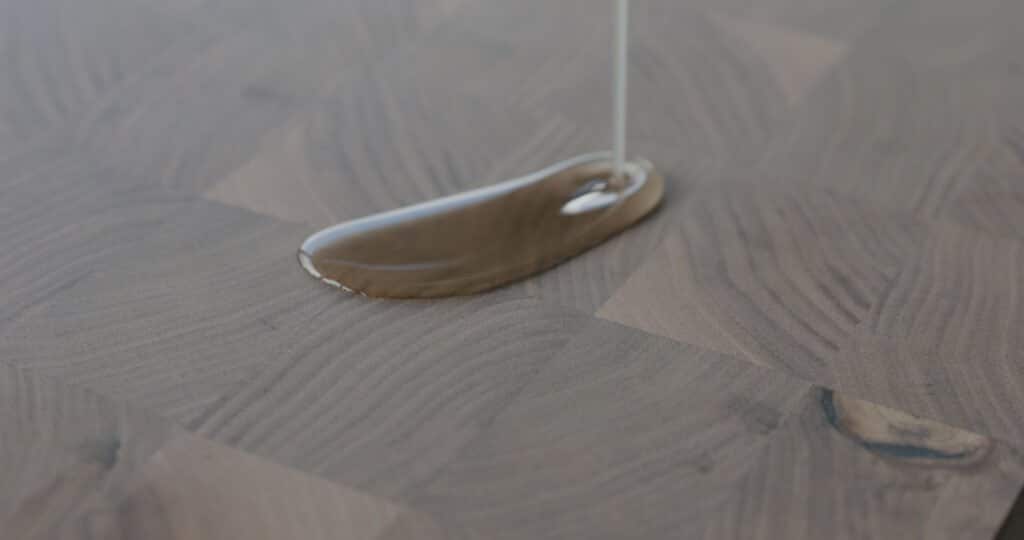
After hours or days doing everything possible to perfect your project, the last risk anyone wants to take is applying a lousy finish.
But unfortunately, that is all too common.
Common issues (and how to fix them) include:
- Improper sanding will leave blemishes in the finish. Just take extra time and be sure to sand down to 220 grit. Then use a bright light to inspect all of the surfaces.
- For porous woods like pine, use a preconditioned to prevent blotching from variation in grain and density.
- Test stains, especially dark tones, on a sanded sample piece to see what challenges you may incur.
- Spend some time researching top coats and go with a finish that matches your skill. For example, don’t start with an HVLP system for lacquer. Instead, choose a wipe on urethane that is simple to apply
Mastering wood finishes is an art that takes practice, patience and planning.
#10: Sticking to One Style of Woodworking
So this might be a surprise but the biggest mistake for even experienced woodworkers is not mixing up woodworking projects to learn new things.
Take cabinetmaking as an example. While you may master box construction, shaker doors and dovetail drawers there isn’t much need for learning mortise and tenons joints.
Or if your projects are all about wood turning the world of small shop wood carving (that can enhance your turning projects) won’t be explored.
So rather than stick to one niche of woodworking be sure to branch out and test the boundaries of your skills.
- About the Author
- Latest Posts
Eric has been a professional woodworker for over thirty years and has worked in small cabinet shops making everything from kitchen cabinets to hand-made furniture. Now working from a home woodworking shop Eric is sharing his passion for woodworking, tool advice and how-to knowledge from his Minnesota-based woodshop.
