My journey with woodworking started back in high school when I did miscellaneous summer jobs for a cabinet shop splitting wood and stacking lumber. When my junior year came around I had a chance to work in the cabinet shop and started learning many tricks of the trade, including how to make face frames.
What is a face frame? A face frame is the cabinet component that supports the cabinet doors and drawer hardware. While not all cabinets have frames, it is a popular style of cabinet construction in the US. Face frames are generally 3/4″ thick and form the front of the cabinet.
In this guide I’ll help you through selecting material, measurements, joinery techniques, and gluing the frace frames together. And, I’ll also include tools you’ll need (and that I have used) to help with a professional result.
Page Contents
Selecting lumber for your face frames
Now here’s a chance to save a little money.
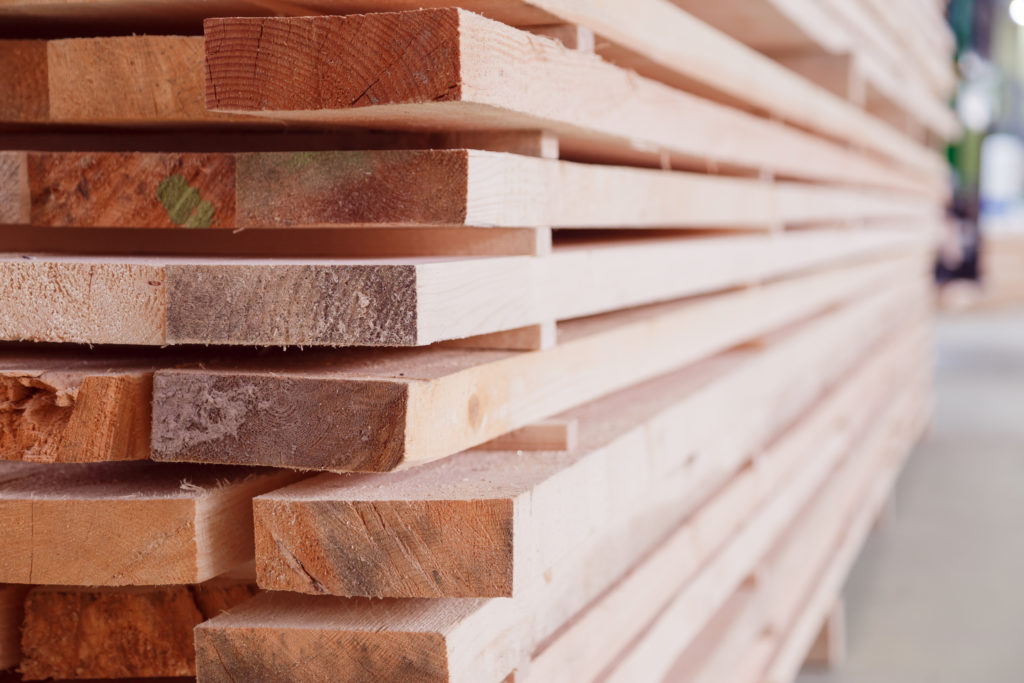
Because face frames are only seen from the front a lower overall grade such as “#1 common” is acceptable and lower cost. So don’t be afraid to select some boards with a back side that is sappy, knotty or otherwise have imperfections you would not want seen.
When looking at width and length of boards I like to plan ahead. First, since face frames are finished to 2″ in width (exactly) I look for boards that can be ripped in multiples of 2-1/8″ inches with minimal waste. And that makes a 4-1/2″ wide board in the lumber pile a great stock to sort for face frames. Second, length is generally variable as most stock is cut to 30-42″ in length. So don’t be afraid to pick knotty stock and cut around what you need to.
Finally, choose lumber that’s surfaced on 3 sides or “S3S” to 13/16″. Because you’ll want the finished face frame to be around 3/4″ this thickness provides for room to sand after assembly. And you can skip the jointer with one edge already straight and clean.
Laying out face frames
I’ve made enough cabinets I build the face frames first, then doors and drawers, and don’t bother with the cabinet boxes until the end. Why do I do this? Well, the face frames decide all measurements including door height and width, drawer dimensions, and most importantly I can optimize lumber cuts upfront.
Here’s how I approach laying out face frames:
- Face frame strips will be finished to 2″ in width. I’ll only use wider strips in corner cabinets that meet at 90-degress.
- Use a strip of plywood for layout if the measurements are complex. First determine your wall dimensions, then plot out your desired cabinet pattern on plywood. And finally, transpose these measurements to your cut sheet.
- I use a standard kitchen cabinet height of 35-1/4″ for laminate and 35″ for solid surface. Also plan for a 3-1/2″ toe kick height.
- Plan the top row of drawers with 5″ in opening height.
And a final bonus? You don’t need to use any filler strips.
Prepping face frame material for use
Now is the time to be lazy if you have the tools.
Who wants to sand saw marks off the edge of the face frame in a finished cabinet? You guessed it – nobody.
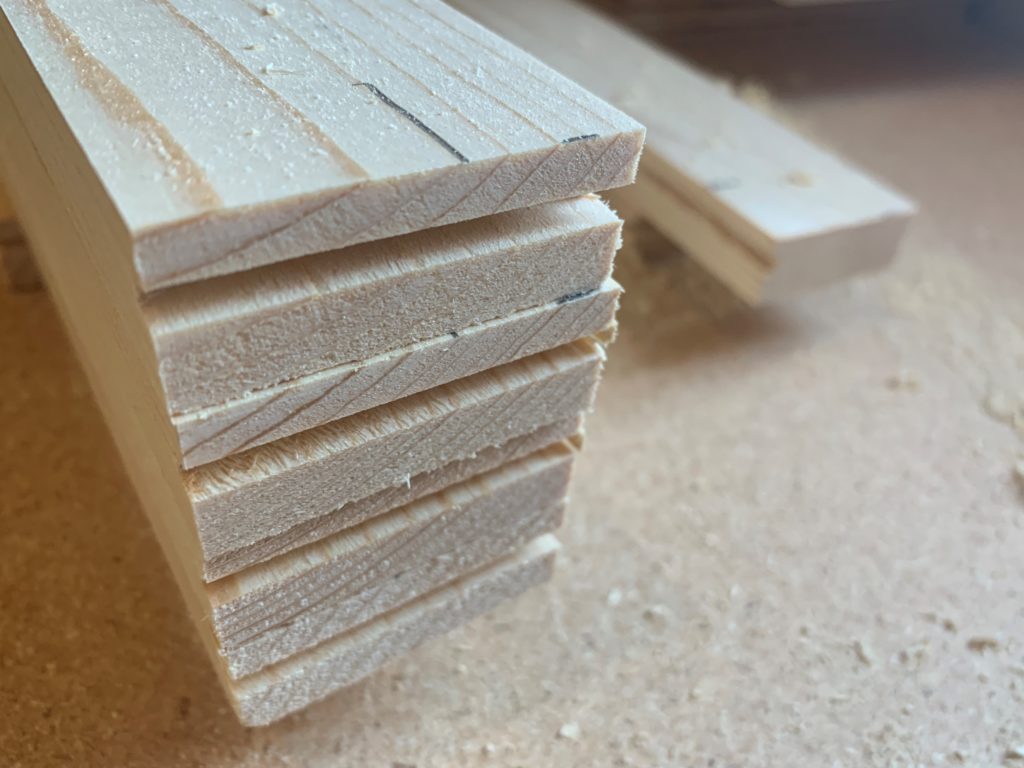
To remove saw marks or other imperfections rip all face frames to 2-1/8″ wide on your table saw. Once that’s done run them through my favorite tool in a home workshop: the drum sander. Mine is a Jet 22-44 drum sander I’ve had for 10+ years. Similarly if you don’t have a drum sander you can use a planer.
Finally, leave the face frame strips full length for now. Due to planer and sander “snipe” the first and last 2-3″ can have marks you’ll want to cut off later.
Cutting face frames to length
Always start big and work your way small.
Ok, well start with the most repetitive long cuts. For instance, if you need twenty 42″ strips cut those first. But feel free to sort out any singular longer frames for say a 72″ face frame. Because the cut-offs from these longer strips can be used for shorter strips this will optimize your material usage.
Now I’ve built my miter saw into my workbench and use a simple wood block nailed to the benchtop as a wood stop. But one of these days I plan to upgrade to a more accurate system like this Kreg track system .
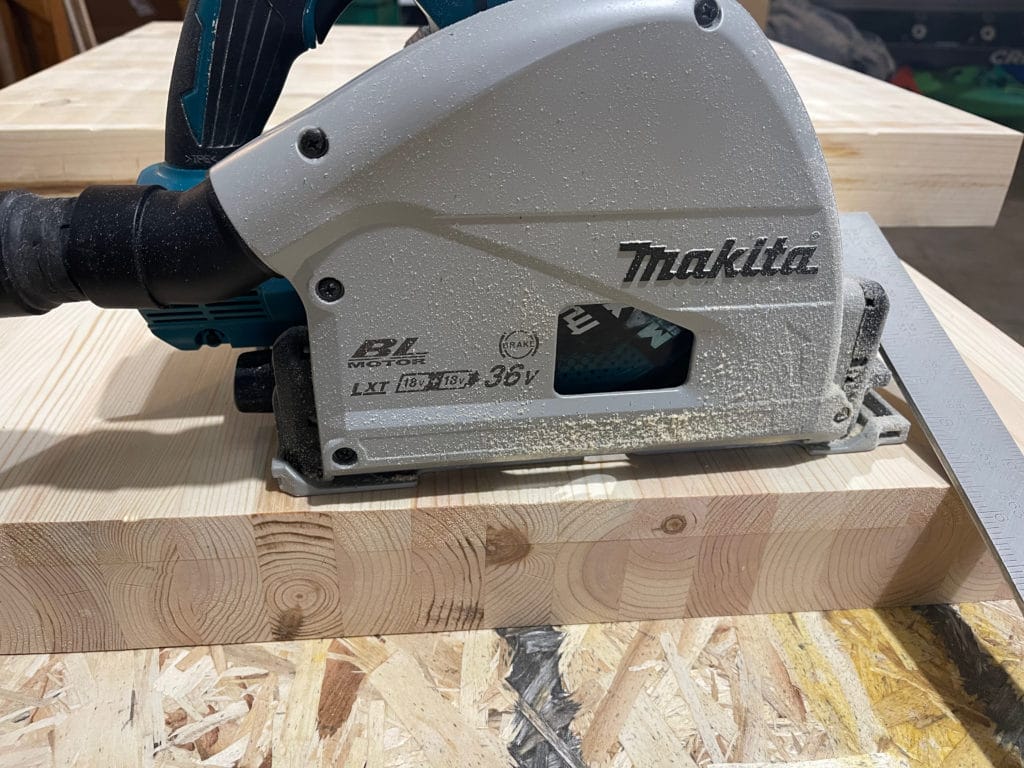
Tool tip: I’ve used a Makita sliding compound saw for nearly 15 years in my home workshop and it’s been rock solid. And my only regret is I wish I could find the original blade as it was incredibly smooth.
We’re about halfway now with learning how to make face frames.
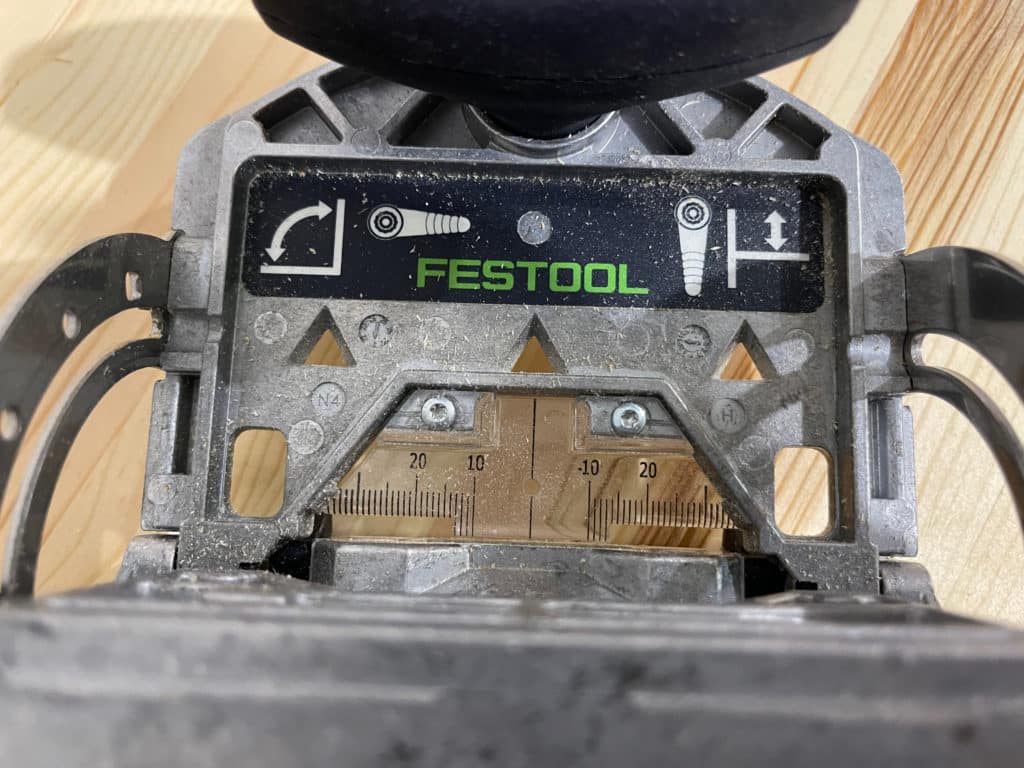
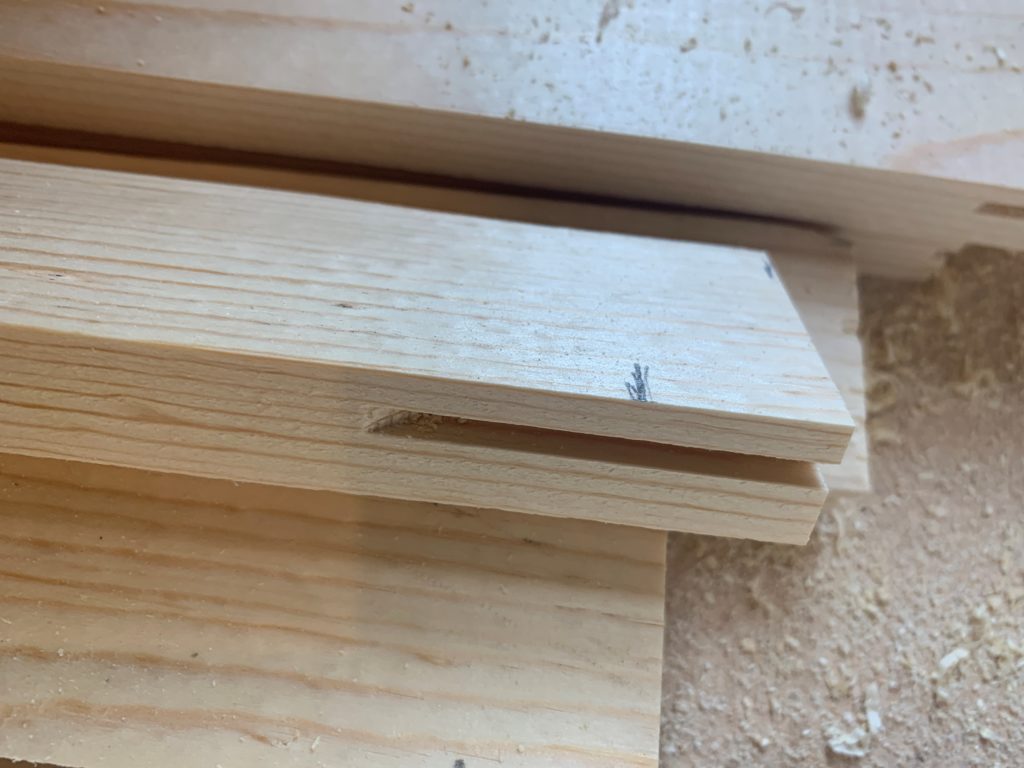
Cutting face frame biscuits with a plate joiner
When I make cabinets at home I can finish a 60″ base cabinet with raised panel doors, three drawers and four pullouts in a weekend. Well, at least to the point of finishing the cabinet.
But that doesn’t happen by using slow approaches.
And that’s where my Dewalt plate joiner comes into play. Over the years I’ve made hundreds of face frames with this hand-held unit. And there really are only a few simple steps:
- Make clear pencil marks on the centers of all face frame ends (on the “face” not the back)
- Mark all face frame butt joint locations.
- Set the plate joiner to the proper biscuit size (I prefer a #20 biscuit)
- Firmly hold the top plate of the joiner flush to the face frame edge.
- Slowly but firmly push the joiner forward until it reaches it’s preset stop.
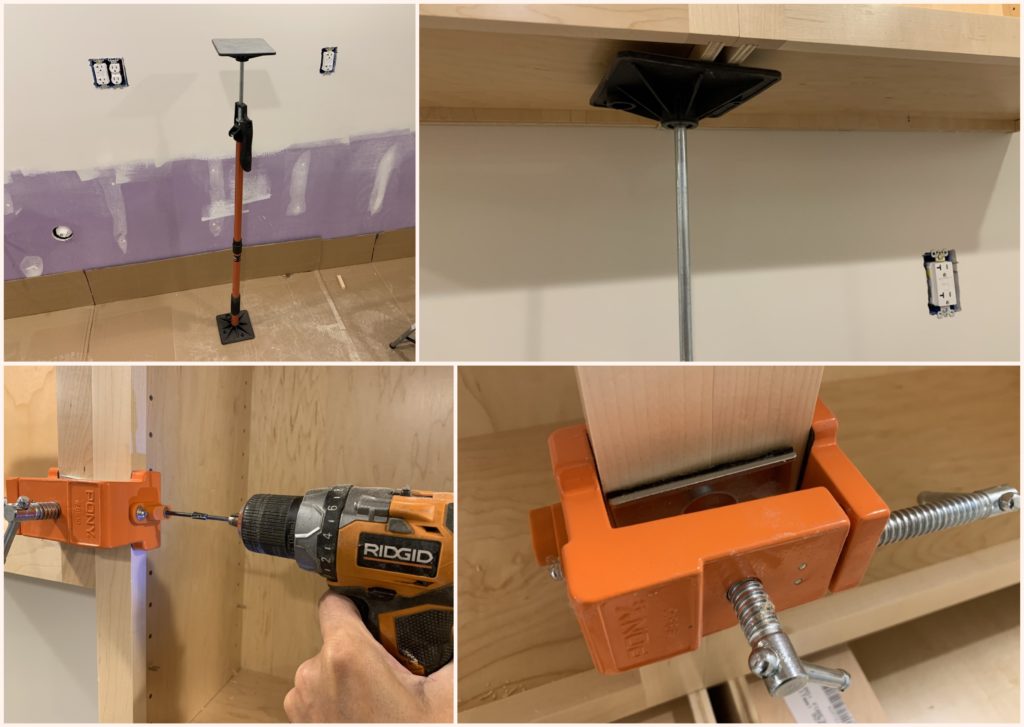
Face frame pipe clamps
This is where you can make or break your face frame building experience.
Without question you’ll want at least a half dozen pipe clamps on hand. Now I have around thirty at last count but that’s a collection built over years of projects. To determine your minimum number of clamps take a look at your most complex face frame and layout how you would clamp it. Note for base cabinets you can getaway with a single clamp over the top drawer frames.
A few buying tips:
- Look for clamps like Bessey that have a tall stance, wide base “legs” and fit 3/4″ black pipe. While I own many Pony products the rocky base on their standard pipe clamps cause the clamp to fall over. So, I try to use the Pony’s on the face of the frame when I can.
- Head to a local big box store for 3/4″ black pipe. While it’s not an exact science I like to have a bunch of 60″ pipe, some 36″ and a few 96″ for longer frames.
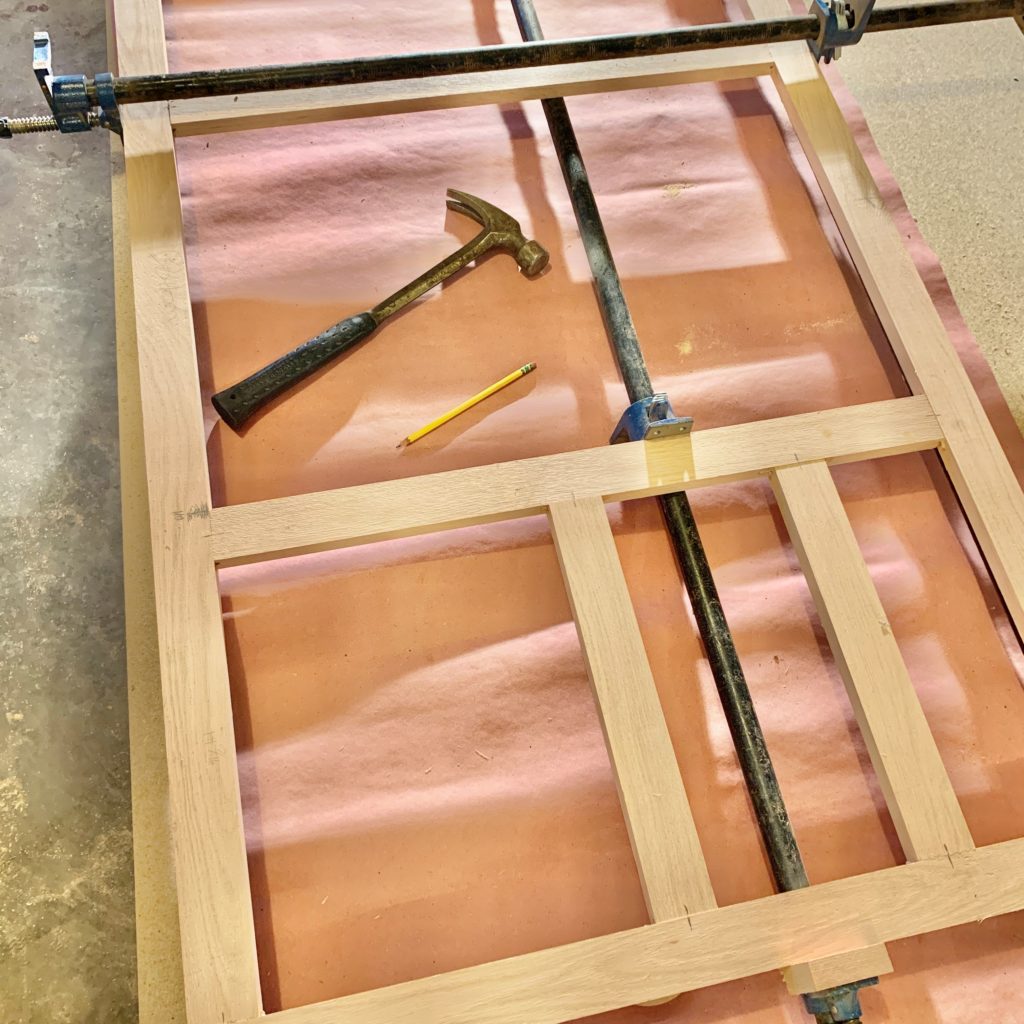
Gluing the face frame together
And now the fun part of how to make face frames. Well at least for me.
One of the first rules is to use enough glue (I’ve used Titebond for 25 years) to cover all the surfaces of the joint but not have half the glue squeeze out when you clamp it. While that’s better than a “dry joint” that fails, a pile of glue on the bench is a mess.
Since repetition improves quality I start with the crosscut ends first, lightly glue the wood side of the biscuit and do the same for the biscuit with a little glue. Then insert the biscuit, hit all surfaces with a small bead and quickly work through all joints and biscuits.
Because I like speed and ease of cleanup I always use red rosin paper over the bench to catch any glue drips.
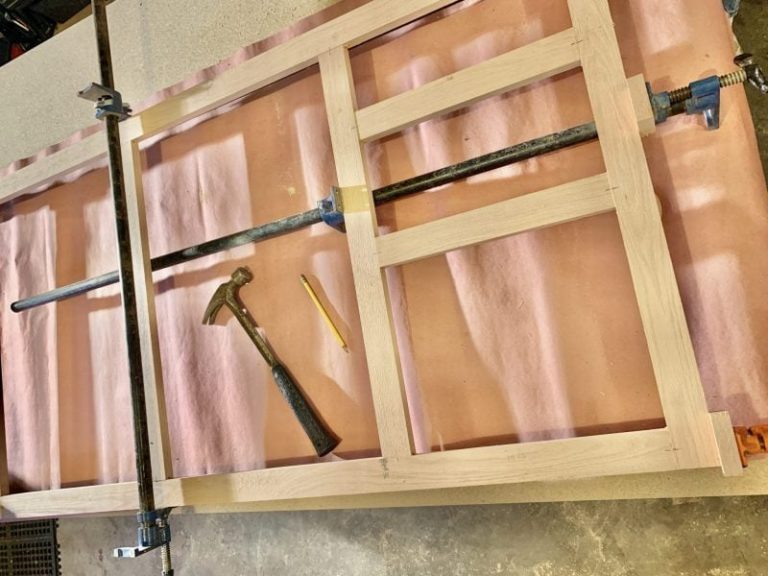
Once all the face frame ends and biscuits are glued lay them out on the clamps. Next start from a top or bottom of the frame, square the joints, lightly clamp and work around the entire frame until everything is set in place and clamped. Then continue by adding any clamps on the face of the frame and then firmly work around all the clamps until a steady force is applied. This isn’t a strength competition. And, if your clamps didn’t come with rubber pads go ahead and use scraps to protect the face frame sides from dings and “compression” marks.
The final step is to use a wet paper towel to wipe away any excess glue.
Sanding the face frame

My first two years of professional cabinetmaking were spent grinding face frames with a 4×24″ PorterCable belt sander. So yes this approach works, but when we upgraded to a 37″ wide belt sander my relationship with the belt sander fell to occasional use (mostly during cabinet installation).
Alas, this step is up to your tools and budget. At minimum you’ll need a random orbit armed with 24 grit paper and at best you’ll have a drum sander. I’ll still use my Makita 4×24″ on small jobs.
And now you know how to make face frames and with some practice and the right tools you’ll be on your way.
Summary
Hopefully this article helped you with tips and tricks on how to build face frames.
Recommended Reading
- About the Author
- Latest Posts
Eric has been a professional woodworker for over thirty years and has worked in small cabinet shops making everything from kitchen cabinets to hand-made furniture. Now working from a home woodworking shop Eric is sharing his passion for woodworking, tool advice and how-to knowledge from his Minnesota-based woodshop.